
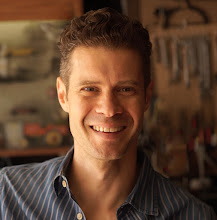
Matthias Wandel is a woodworker who has created a wonderful, interactive wooden gear template generator. I'd love to port some of these ideas to a MEL script within Maya so I can automate 3D gear creation.
Matthias Wandel is a woodworker who has created a wonderful, interactive wooden gear template generator. I'd love to port some of these ideas to a MEL script within Maya so I can automate 3D gear creation.
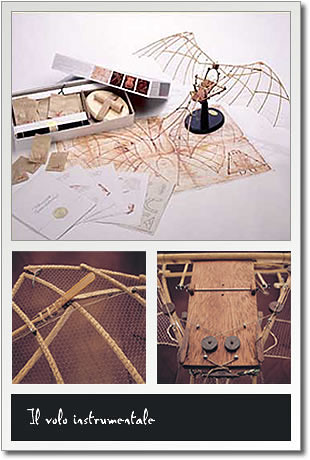
This is a wooden kit made by The Imagination Factory that I'd like to build. There are other kits for different da Vinci machines out there, but this one seems to be in a class of its own.
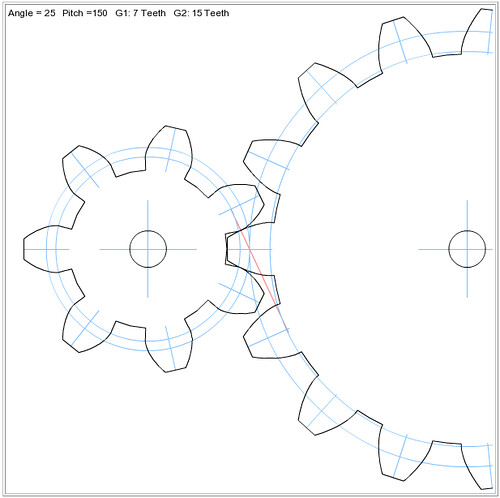
My friend Phil Zucco, an awesome 3D modeler and all-around great guy, pointed out to me that I'd modeled my ratchet with too few teeth, compared to the da Vinci sketch. I have no idea what I was thinking and how I managed to do that. My intention was to count the teeth and build a cylinder with twice the number of spans as teeth. I wasn't even close!
So, here's a the new, correct (I hope) ratchet.

The ratchet and pawl mechanism allows motion in one direction but locks it in the other direction. In this sense it acts in the same way as a diode in an electrical circuit or a check value in a water pipe. The ratchet and pawl was often used with a winch or windlass, a horizontal drum with a rope or cable attached, which allowed the rope to be wound onto the cylinder but prevented the cylinder from unwinding the rope. Reuleaux was fascinated with ratchet mechanisms and designed several different models to illustrate the different motions and uses of the ratchet. In his machine design book The Constructor (1893), he defined the ratchet in the similar way as Leonardo da Vinci; "The object of the ratchet is to check the action of certain portions of a machine and so modify an otherwise continuous motion into some intermittent form." (Page 150). The use of control valves in steam engines and internal combustion engines in the 19th century to regulate speed represented the beginnings of automatic control of machines. Reuleaux recognized the importance of control but did not have the mathematical concepts to describe it. He saw instead the special digital nature of ratchet mechanisms, on or off, as having special significance in machine regulation and created several models to express the role of ratchets in machine control devices.
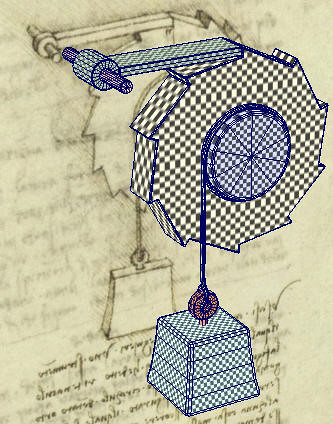
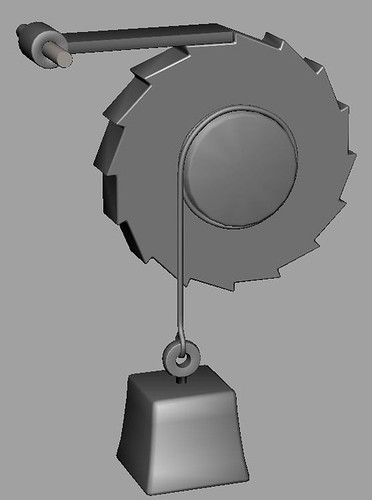
I've applied a checkerboard texture to each piece of the model. At first, the checkers look stretched out. After correcting the UV mapping coordinates on each model they look much more uniform.
If you're new to the concept of UV mapping, you'll probably still remember this one from school: how do you wrap a flat map around a globe, and vice versa? That's the same sort of problem as UV mapping. The answers lie in various types of projections. I used a mix of planar and cylindrical projections, along with some automatic layout tools and a bit of manual editing.
Once each object has reasonably good UV mappings, I'll be able to create materials for them, such as wood, rope, and iron.
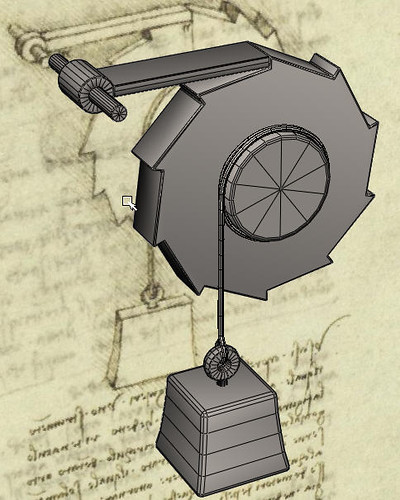
I've beveled all of the edges and added a couple of parts. I think this is meant to have a central hub around which the rope wraps. Starting to think about rigging, too. Rope is not straightforward in rigging, so I may end up rebuilding the rope model in a straight line, and then using the rig I build to coil it over the hub.

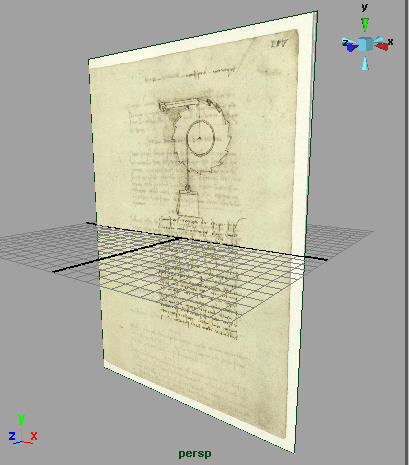
 For the sake of having fun with this, I'm going to avoid existing research as much as possible and just try to see what the da Vinci notes and sketches themselves reveal.


